In this blog post, we are going to look at ways you can effectively use technology – specifically smartphones to inject interactivity into your sessions.
What is Padlet, what are you talking about?
Padlet is an online browser-based tool that enables teachers to create interactive boards online, whether these are documents or just web spaces where students can all directly engage and share their content. The spaces can be private spaces, just for you and your students and some of the benefits include being able to embed spaces straight into LearningSpace and also the ability to share Padlets by using the Marjon QR code reader.
Padlet uses
If you want students to collaborate in a live session, for example share images taken on their smartphones related to a field trip exercise – they can do this using your Padlet board. All they’d need to do is zap the Padlet QR code, using the Marjon QR code reader and then find the media they want to share and this will automatically appear within the Padlet board on-screen. This could be a great way of interacting with students and all that would be required is the setup of the Padlet board and access via a browser. Students don’t even need the Padlet app on their smartphone to be able to engage with it.
How do I make this happen?
It’s very easy to setup Padlet, follow the below steps:
- Visit https://padlet.com
- Create a new free account
- Select + Make a Padlet

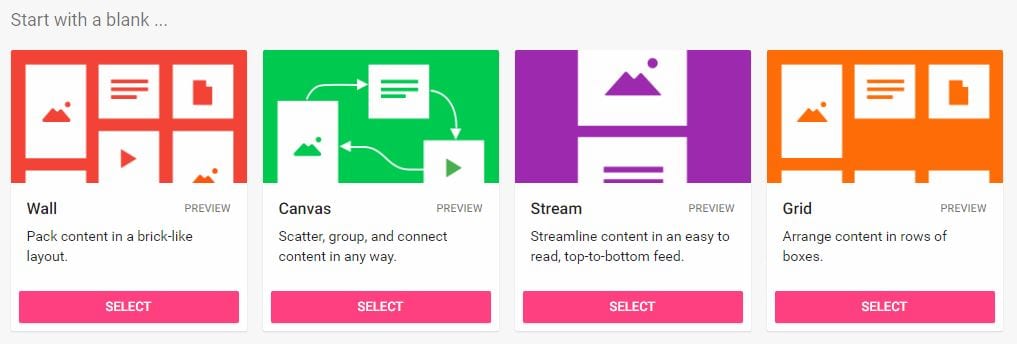
- Select a template or from the list of options, or start with a blank (The shelf format is used in this example)
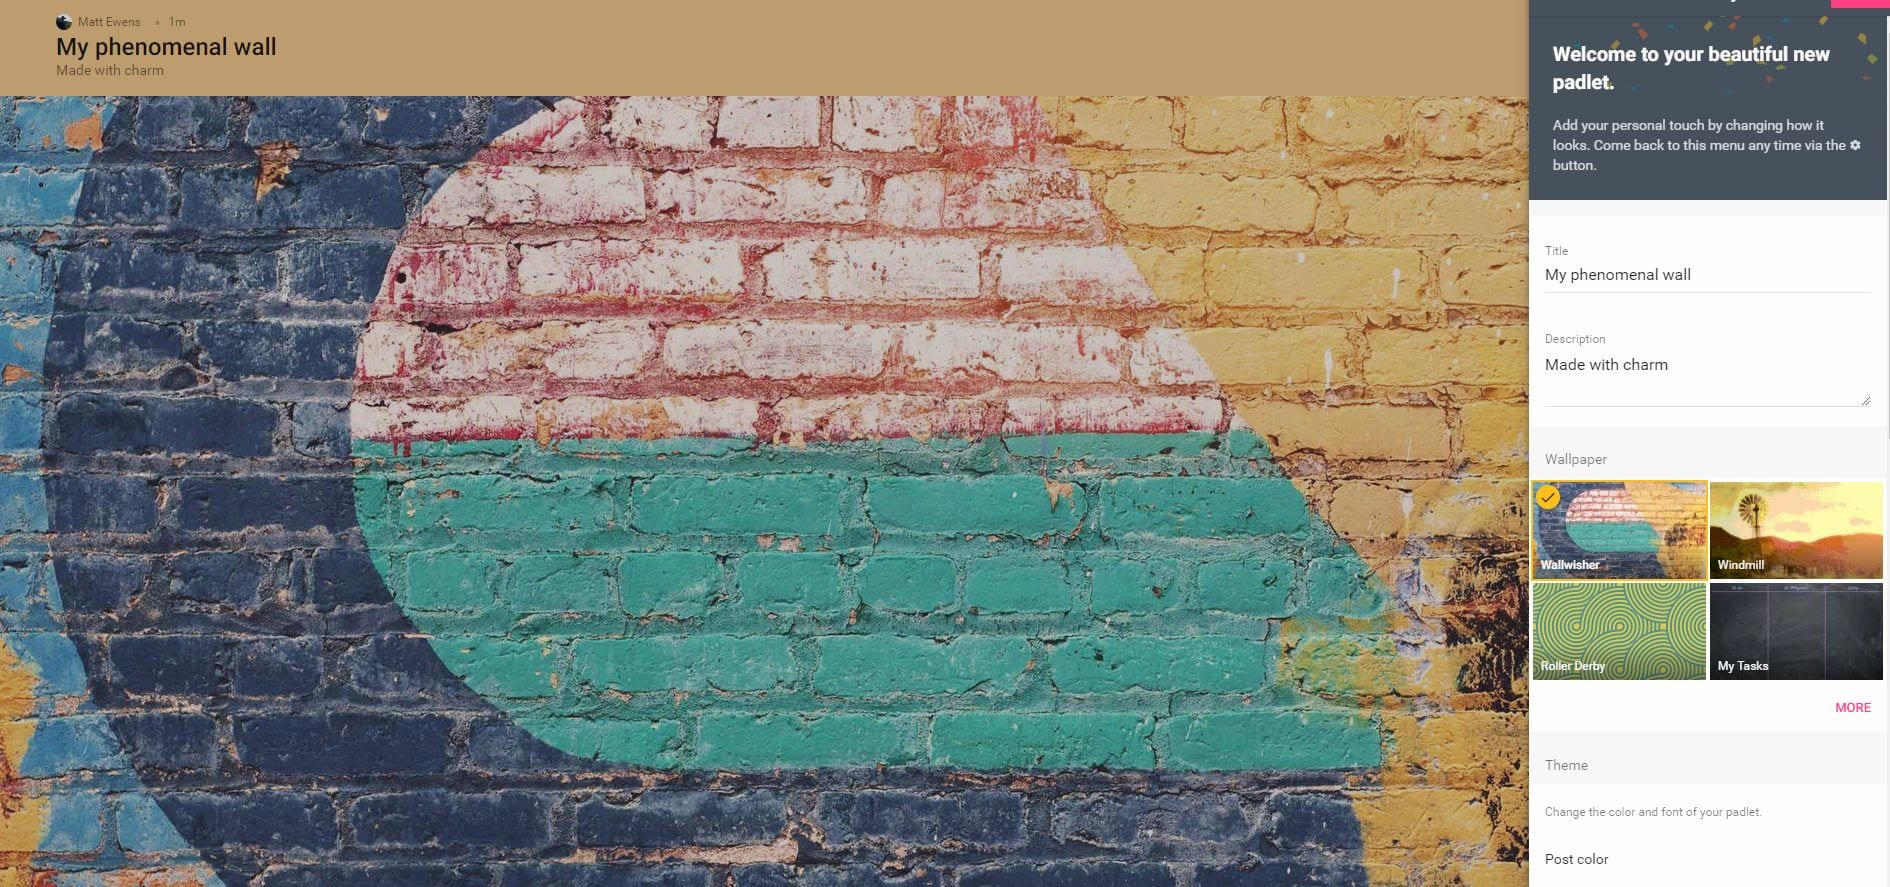
- Select from a range of wallpaper types, themes and styles
- Next select the privacy options, for example add a password to protect the wall and then start the Padlet.
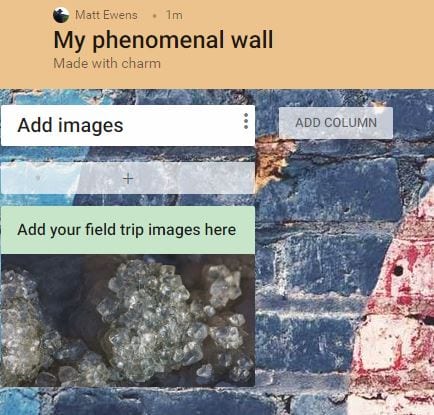
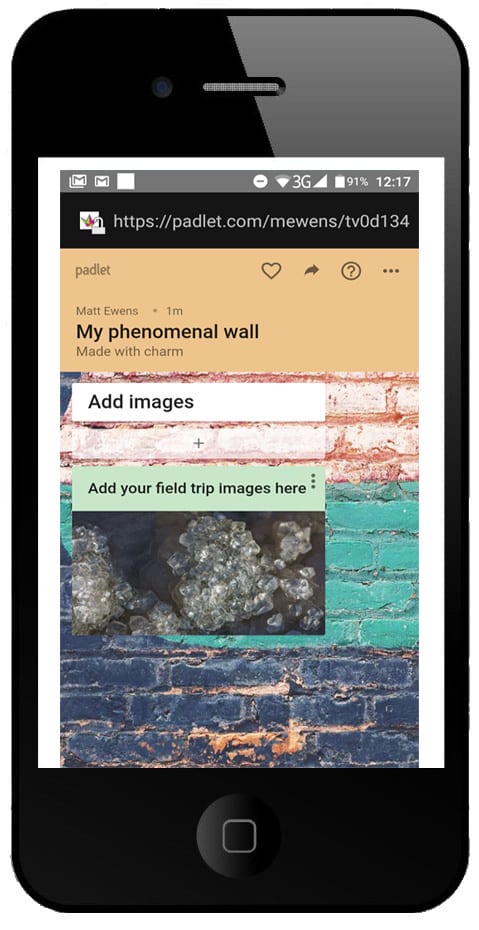
To add a section, just double click on the board and enter a title and in the below example we’ve added an image to start things off.
When you’ve setup the board how you want it to be, you can then share it with you students. To do this go to ‘Share’ at the top right-hand side of the screen and select the ‘Share/Export/Embed’ tab. You’ll notice a QR code has appeared. Ask the students to open the QR code reader in the Marjon app and then zap the QR code on screen.
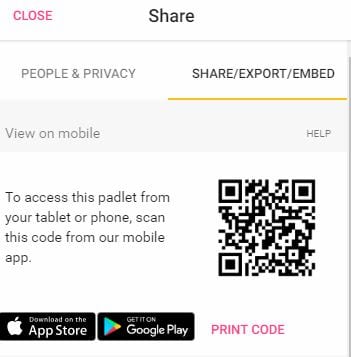
tip: if you click on ‘PRINT CODE’ this will display the QR nice and big on-screen.
Remember to setup your desired privacy options in the previous tab, before opening up the sharing options to students
When students scan the code they’ll be able to add their media to the Padlet and this will automatically appear on screen during the session. The beauty of this tool is that the students do not need a login or account to access and it works seamlessly by using the Marjon mobile QR code reader.
Embed a Padlet into LS
If you wish to embed the Padlet board into LearningSpace, follow the below instructions:
- In Padlet click on ‘Share’ in the top right-hand side of the page then ‘Share/Export/Embed’
- Click on ‘Embed in your blog or website’ and copy the embed code
- Login to LearningSpace and navigate to the module where you want to embed the Padlet
- Turn Editing on and then setup a new label.
- In the label text box toolbar, select the toolbar toggle to open more options

- Click on the code icon to open the coding box

- Paste the copied embed code into the box and select ‘update’ – then Save and return to course and turn editing off.
The only potential drawback of using a free account is that you are limited to 3 boards or Padlets, so if you need to keep them you can only have 3. You can get around this by exporting a Padlet as an image, PDF or CSV file – or simply wipe the content when it’s no longer used and rename the sections.
If you’d like any help setting up your Padlet space or are interested in a demonstration, please contact the MeLT team.
Thanks for this, Matt. Padlet has improved lots as it used to look rather messy but the template features make a big difference to how nice it looks. It’s not LearningSpace but I made a sample page at this link and anyone is welcome to try it out http://www.benjanefitness.com/padlettest