DIT hint of the week: How to reduce video size easily

Have you ever captured a video either on a video camera or on your smartphone, then tried to upload the video to Edublogs, only to be faced with the below message?

Failed video message
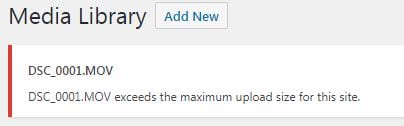
Whoops, you’ve exceeded the maximum upload limit… What now?

To fix this problem, follow the below steps:

1. Visit the following website and download the Handbrake software.
2. Once downloaded, open the software and you’ll see a batch option and a single file option, select the single file option

Single file option in Handbrake

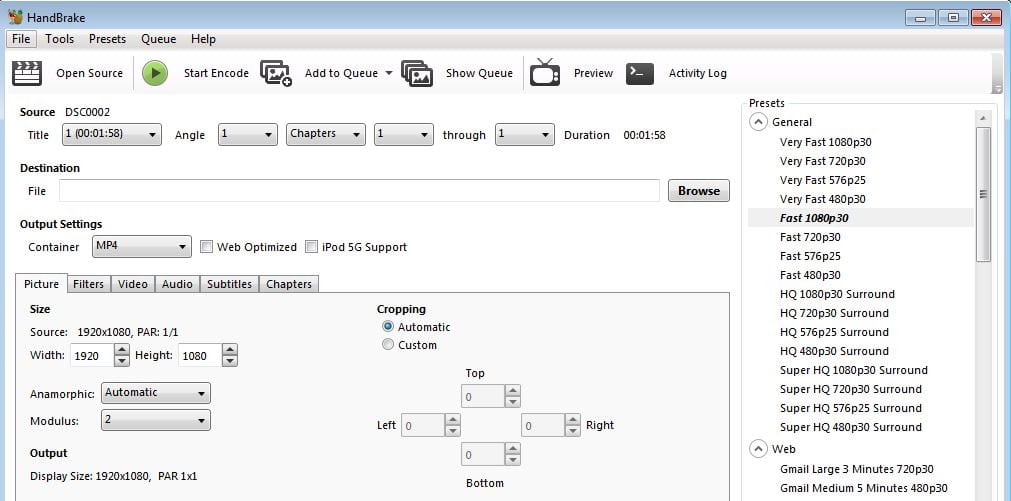
3. Open the large video file you want to reduce the file size for and the Handbrake editor will appear as below

Handbrake video editor

Browse button
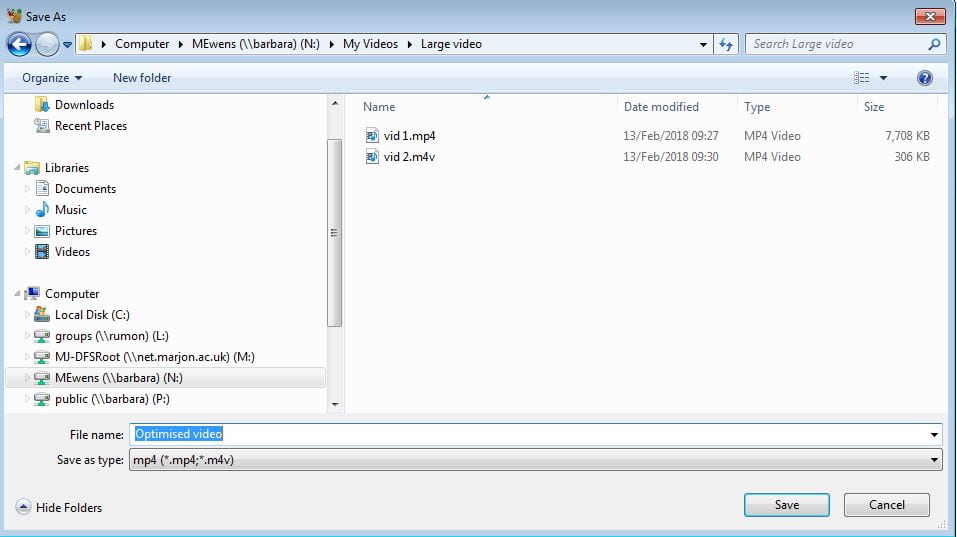
4. Select the above ‘Browse’ button and select the location where you’d like the optimised video to be saved and enter a file name, for example ‘optimised video’ and hit save.

Optimised video
5. You can select the ‘video’ tab to further reduce video size, using some of the advanced settings if you find the video is still too large, but if you just click on the ‘Start Encode’ button, this will usually reduce the file size as required.  So just hit the ‘Start Encode’ button and Handbrake will process the video and when finished, your optimised video will be available to upload to Edublogs.

Encode button

Need further help?

If you’re still struggling, why not watch the below video tutorial, which also contains advanced settings to help you further reduce video size if required.

DIT hint of the week – quickfire embedding with Edublogs

In this quickfire hot hint of the week, we’re going to show you how to embed a YouTube/Vimeo video into an Edublogs page.

It’s very simple, but will save you a lot of time trying to find embed codes.

To embed a video into your Edublogs page, just find the video you want to include on YouTube, copy the URL, either from the browser or via the share link below the video.  Go to your Edublogs page or post edit screen and simply paste the URL into the page/post!

(Vimeo acts in exactly the same way, so just copy the URL and paste it!)

Clevertouch Screens

Some teaching spaces have now been equipped with the ‘Clevertouch’ screens to work either alongside or replacing projectors.

These screens can be used in the same way as the projectors using the lectern laptops to manage the content. They can also be used to interact with the content.

Please view the POV video below to see the basic functions of the screens. We are keeping the videos as raw as possible to give the most true to use example.

You will find more videos and a list of rooms with the clevertouch screens installed at elearning.marjon.ac.uk/clevertouch.