What is H5P?
H5P is a tool for creating interactive content, such as quizzes and drag and drop activities. It is embedded in Marjon Canvas and available for all teaching staff to use. We recommend using the Interactive Book activity, which you can use to construct a book with pages, similar to the previous book activity in Moodle. The main difference is that there is enhanced functionality and activities that you can apply to your H5P book compared to the Moodle book activity.
If you prefer you can just download the Word guides:
[Getting Started] [Creating a cover page] [Creating pages] [Creating quizzes – multiple choice] [Creating quizzes – fill in the blanks] [Creating quizzes – mark the words] [Creating quizzes – true & false] [Publishing & Reporting]
Getting started
1. Login to Canvas via: https://marjon.instructure.com/
2. Head to the course where you want to add your H5P interactive book (Go to Dashboard)
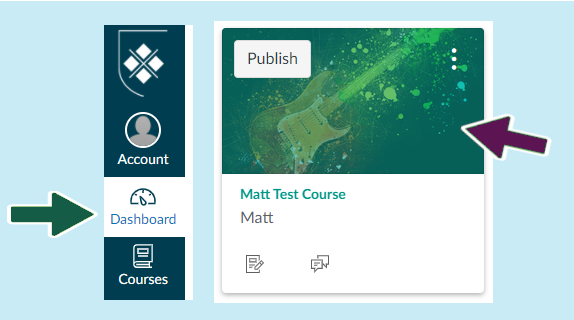
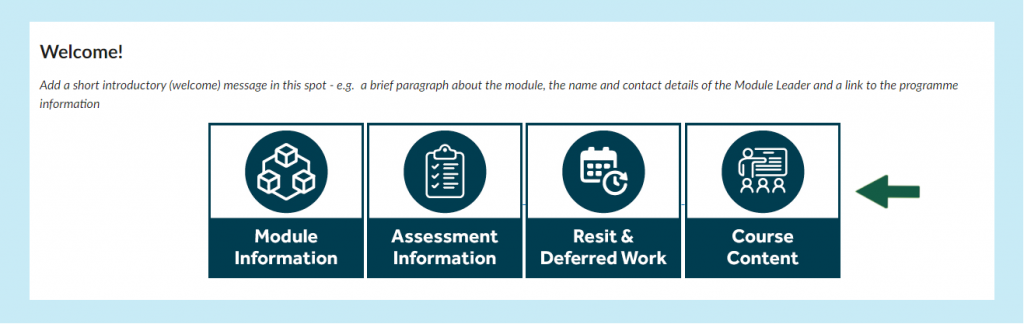
3. Select ‘Course Content’
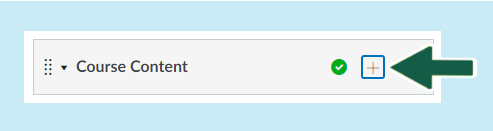
4. Look to the right-hand side of the course content tab and click on the plus button +
5. Next select the ‘Add’ tab to reveal more options and we’d recommend you use the page option
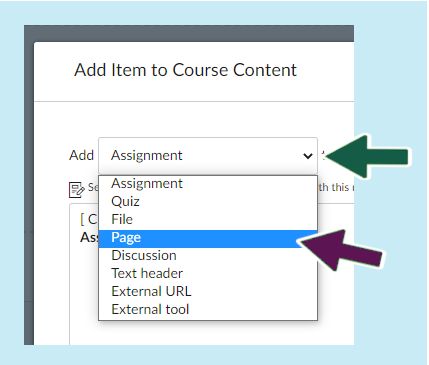
6. Next select ‘Create page’ and then enter a name for the page, then click on ‘Add item’
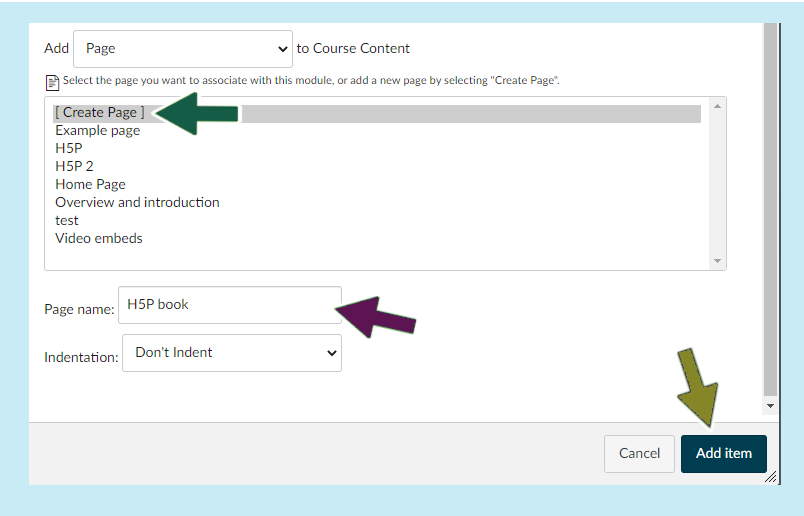
7. The new page should appear as part of the course content section
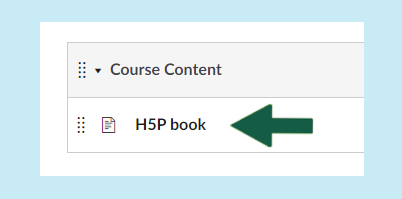
8. Click on the new page to access it then click on the edit button (top right-hand side of the page)

9. Click on the ‘Apps’ icon as indicated below
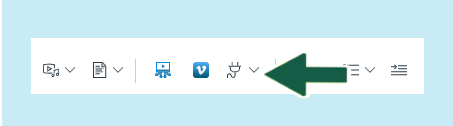
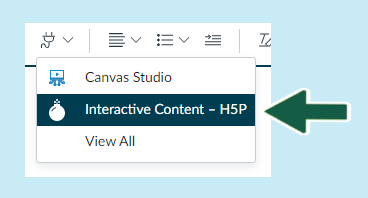
10. Select ‘Interactive Content – H5P’

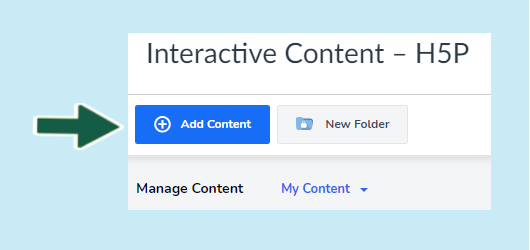
11. Select ‘Add Content’
12. Click anywhere on the ‘Interactive Book’ section to activate
13. The next tutorial will cover how to start creating your H5P book.
Resources
Watch a video tutorial to learn how
Creating a cover page
1. Before we create interactive elements, you’ll probably want to create a cover page. This is an attractive landing page that your students will see before entering the activity. (If you feel this is not relevant skip to the third tutorial ‘creating pages’)
2. Enter a relevant title for your book then check the box for ‘Enable book cover’
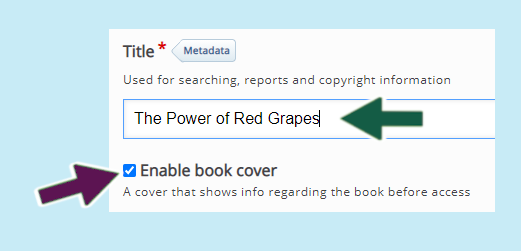
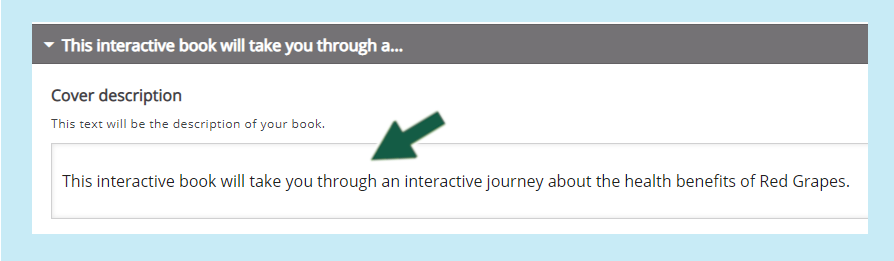
3. Enter introductory text to describe what the book is for
4. Click on the ‘Add’ button to include a suitable image (for copyright free images please use pixabay.com)
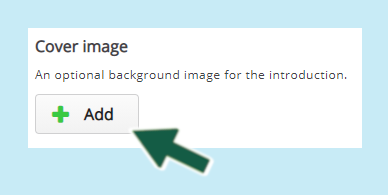
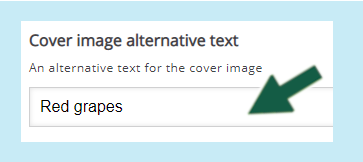
5. Please enter ‘ALT’ text in the box provided as this helps screenreader users identify the image
6. Click on ‘Save’ to save your progress and proceed to the next tutorial on creating pages
Resources
Watch an instructional video to learn more
Creating pages
[Image hotspots] [Image slider]
1. To start we recommend that you create some introductory text to outline what your users can expect from the interactive book. You can also add media like videos and images to this section
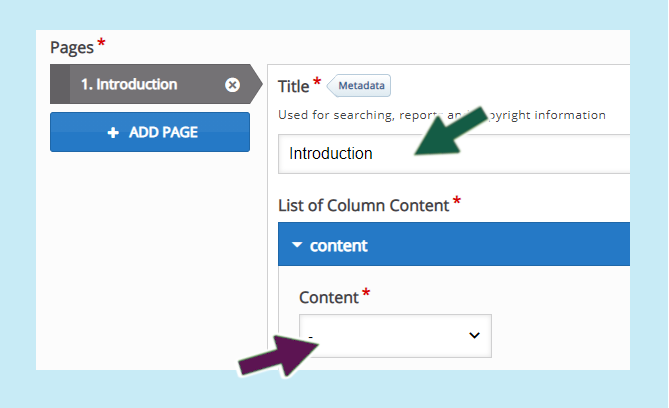
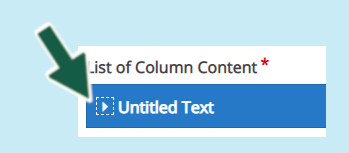
2. Enter a title and using the drop-down menu select ‘Text’
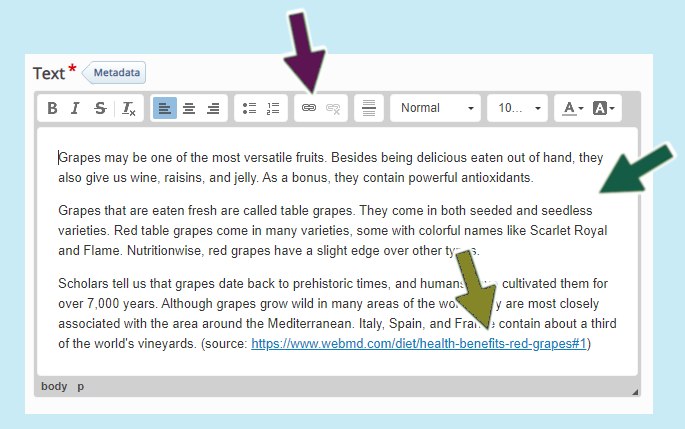
3. Once the text box has loaded, click into the space and type in your text. Note if you wish to add a link as highlighted by light green arrow click and select the text and the click on the anchor icon as indicted by the red arrow)
Tip:
You can collapse any section by clicking on the arrow on the tab as below
4. The next part is to add your pages. You may wish to have 2-4 pages of information, videos or other content before creating your quizzing or the interactive elements. We will assume that you may wish to create 2-4 pages of content. The following will demonstrate a couple of different ways of creating informative content
Image hotspots
Image hotspots are a great way to convey information related to an image or images. They work by providing a visual trigger for your students on the image, when clicked this then displays either text, images or video content.
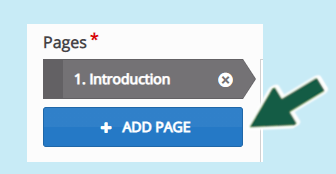
1. On the left-hand side of the H5P editor, select ‘ADD PAGE’
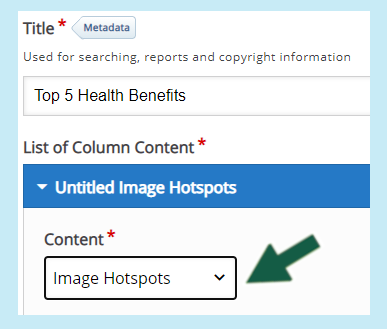
2. Enter a suitable title > then select ‘Image Hotspots’ from the Content drop-down list
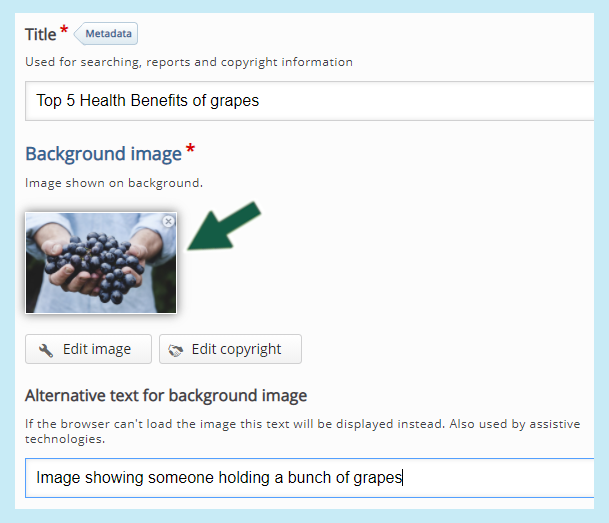
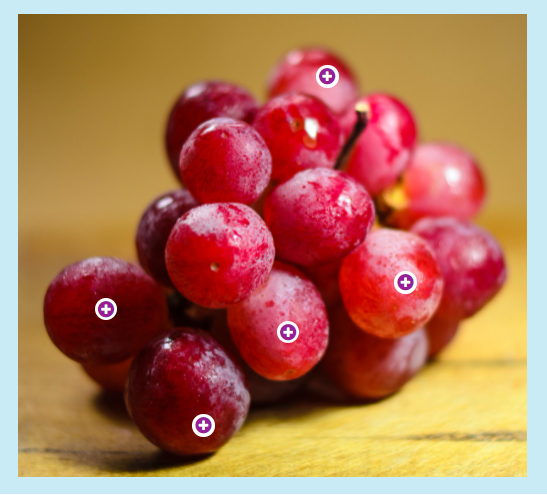
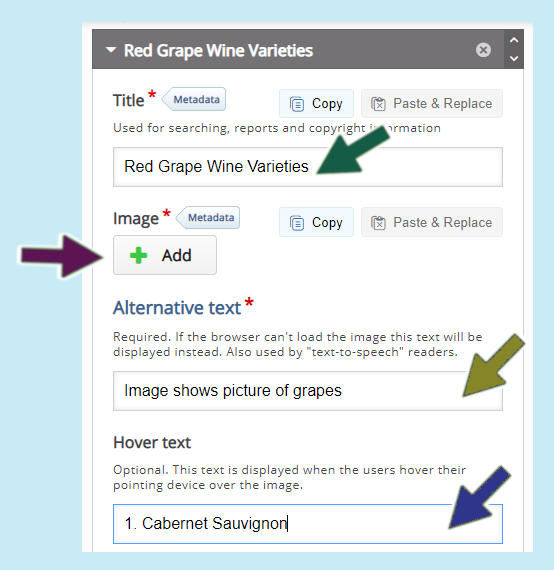
3. You will now need to add a suitable image (pixabay.com) – in the example we have selected a bunch of grapes and each hotspot will identify different positive attributes
(remember to always include assistive ALT text for images)
4. Next select the type of icon used for the hotspot and colour
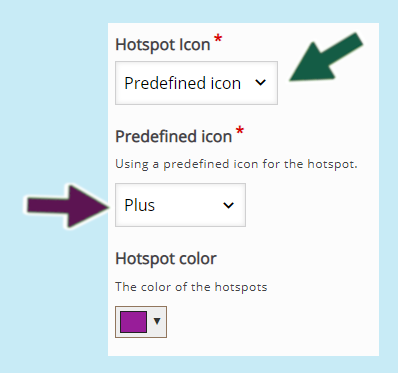
This is an example of what the above settings will look like:
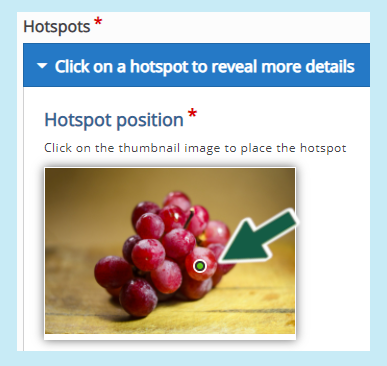
5. Next select the hotspot location on the image by simply clicking into the image preview
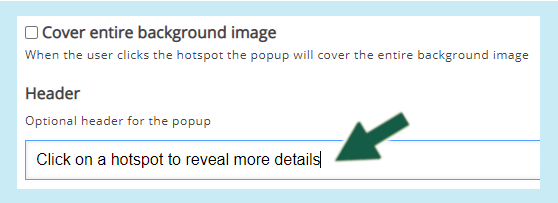
6. Enter ‘Header text’ this will appear if the student hovers their mouse over the hotspot. (you may wish to have text such as the below) – the box for ‘Cover entire background image’ will cover the entire image background with the hotspot text.
7. Next you will need to select the type of pop-up content you wish to have display when your student clicks on the first hotspot – this is either text, image or video. (we will create one of each)
8. Select ‘Text’ from the drop-down list and click into the text box and enter your text

(note, it is possible to add multiple popup items by selecting ‘Add item’ although too many many become cluttered or confusing)
9. Click on ‘Add hotspot’ and click into the image to select the next hotspot location > Copy and paste the previous header text if you wish > Select the video content item
10. Enter a title and then select your video source, if this is from YouTube for example, copy the URL link and paste it in and press ‘Insert’

11. Next click ‘ADD HOTSPOT’ and select the location for the final hotspot on the image
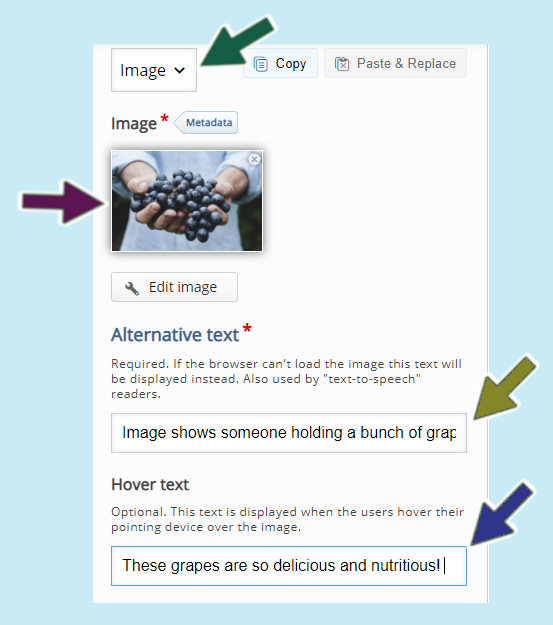
12. Enter header text as before if you wish
13. Click on ‘ADD’ to add your image
14. Enter ALT text and include hover text if you wish to display text when your students move their mouse over the image
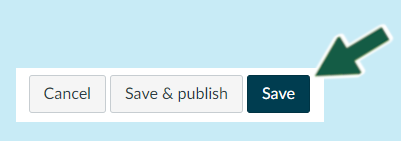
15. Select ‘Save’ (note further details on the settings will be covered at later tutorials)
16. Now press on the ‘Insert’ green button to add the H5P to your page and then click on ‘Save’ at the bottom of your Canvas page

17. Click on ‘Read’ and view your work so far, visit page 2 and see what your image hotspot content looks like
18. Now select ‘Edit’ to go back into the H5P editor as we’ll be adding more pages to your interactive book
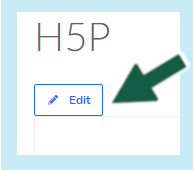
Image slider
1. Add a new page (from the left-hand side)
2. Enter a title and then select the ‘image slider’ from the available drop-down content options

3. Enter a title > Click ‘Add image’ (select from your computer)
4. Add ALT text and hover text if you wish
5. Select ‘Add item’ then repeat the above steps from 3. You can add as many images as you wish

Note: It is possible to combine text and image galleries, watch out for more advanced tutorials for this.
6. Save your work
Resources
Watch a video tutorial to learn how
Creating quizzes – Multiple Choice
In H5P you have a access to all kinds of activities and quizzing content options for your book (see here: https://h5p.org/documentation/for-authors/tutorials) – we will focus on 4 basic types of quizzing content for this basic guide to get you started.
[Overall feedback] [Behavioural settings]
1. Add a new page to your book by selecting + ADD PAGE from the left-hand side
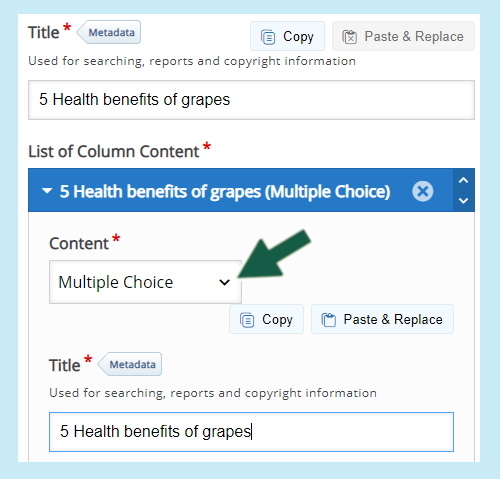
2. Enter a suitable title > then select ‘Multiple Choice’ from the Content drop-down list
3. Scroll down and then type your question into the question box (note if you wish you can open the ‘Media’ drop-down and add an image or video which will appear before the question)

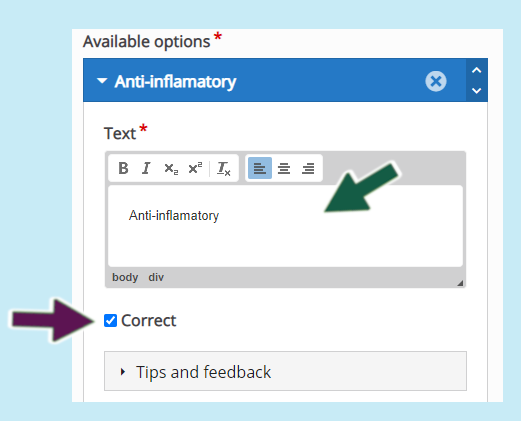
4. Next are the available answers entitled ‘Available options’ – enter the first answer and check the box if you want this to be a correct response.
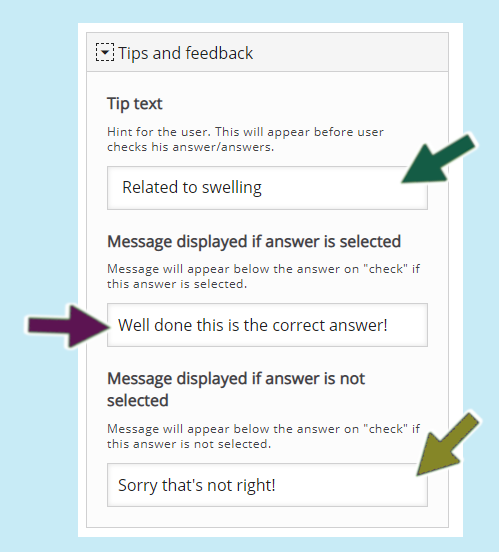
5. If you wish to add specific feedback for each answer, you can by opening up the ‘Tips and Feedback’ drop-down. The tip text will show an ‘I’ icon that the student can click on to reveal a clue. The ‘Message displayed if answer is selected’ is the message shown if the student selects the correct answer
6. Scroll down and repeat steps 3-5 to add the next answer. If you need more answer options click on the ‘ADD OPTION’ button
Overall Feedback (can be assigned to each question)
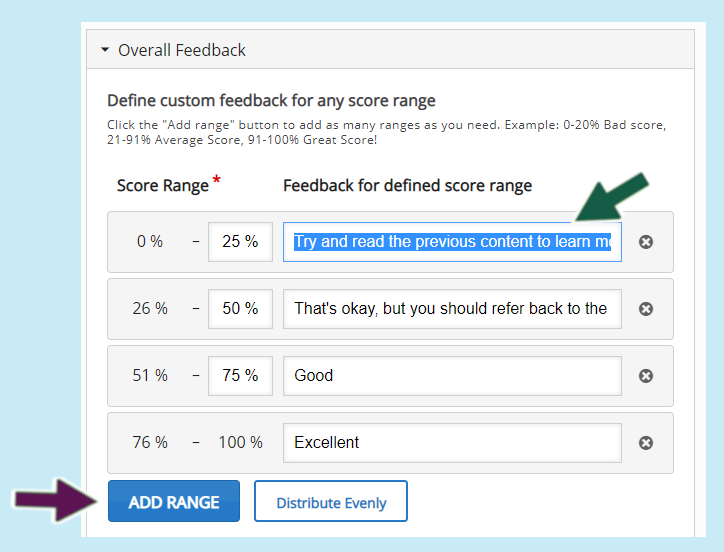
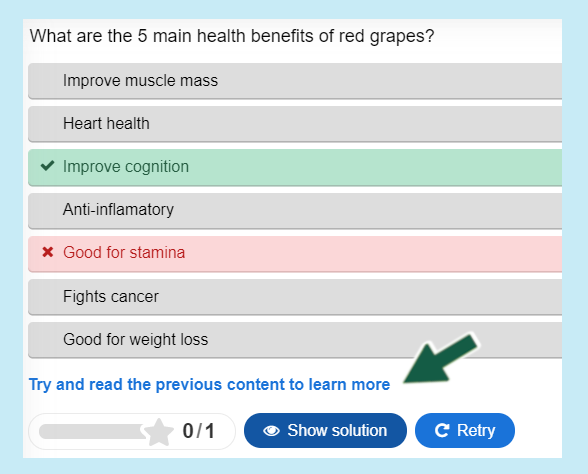
The overall feedback area will enable you to add specific feedback for a score range. This will display feedback for your students. For example if the student scores between 0% – 25% they will receive the following message ‘Try and read the previous content to learn more.’
Note: At the end of the completed course or book, students will be able to submit all their answerss. (Each correct question receives 1 point and you can view reports for each student to see the percentage of correct answers)
1. Open up the ‘Overall Feedback’ tab then click on the ‘ADD RANGE’ button to create a new range and enter the range you want. (note: once you have completed your range, you can select ‘Distribute evenly’ if you want the scores to be automatically distributed)
See below for a live version of above:
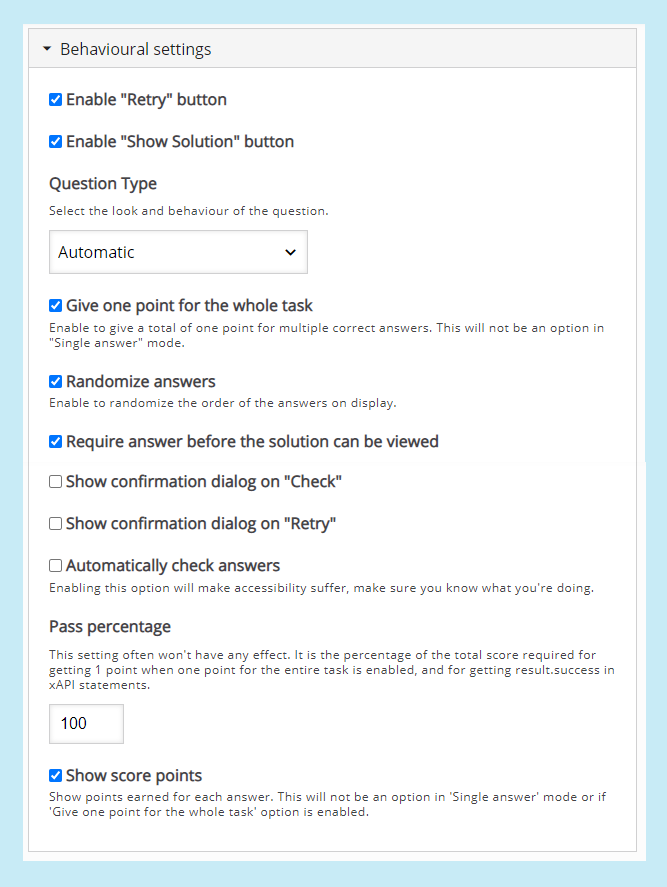
Behavioural Settings
This section will enable you to determine whether you want to give your students the options to try again, or show solution. The following settings are the most commonly used:
Note: the above overall feedback and behavioural settings can be applied for each question
At the end of the questions, you should see another ‘Behavioural settings’ tab – this determines whether you want to display a table of contents, progress indicator and display summary. (note, display summary must be enabled if you want your students to be able to submit their responses)
Resources
Watch a tutorial video to learn how
Creating quizzes – Fill in the blanks
In H5P you have a access to all kinds of activities and quizzing content options for your book (see here: https://h5p.org/documentation/for-authors/tutorials) – we will focus on 4 basic types of quizzing content for this basic guide to get you started.
[Overall feedback] [Behavioural settings]
1. Add a new page to your book by selecting + ADD PAGE from the left-hand side
2. Enter a suitable title > then select ‘Fill in the blanks’ from the Content drop-down list

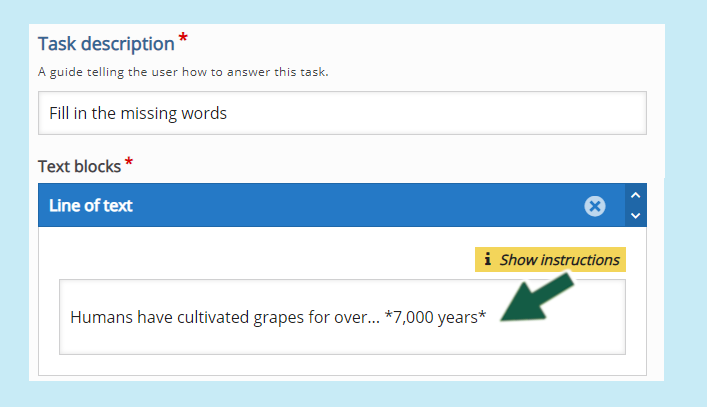
3. Enter a task description to explain what your students will need to do, for example: ‘fill in the missing words’
4. Then in the text box enter the text and the correct answer is housed within a starting and ending star for example ‘*7,000 years*’ – see the below screenshot
Overall Feedback (can be assigned to each question)
The overall feedback area will enable you to add specific feedback for a score range. This will display feedback for your students. For example if the student scores between 0% – 25% they will receive the following message ‘Try and read the previous content to learn more.’
Note: At the end of the completed course or book, students will be able to submit all their answerss. (Each correct question receives 1 point and you can view reports for each student to see the percentage of correct answers)
Open up the ‘Overall Feedback’ tab then click on the ‘ADD RANGE’ button to create a new range and enter the range you want. (note: once you have completed your range, you can select ‘Distribute evenly’ if you want the scores to be automatically distributed)
Behavioural Settings
This section will enable you to determine whether you want to give your students the options to try again, or show solution. The following settings are the most commonly used:
Note: the above overall feedback and behavioural settings can be applied for each question
At the end of the questions, you should see another ‘Behavioural settings’ tab – this determines whether you want to display a table of contents, progress indicator and display summary. (note, display summary must be enabled if you want your students to be able to submit their responses)
Resources
Watch a tutorial video to learn how
Creating quizzes – Mark the words
1. Add a new page to your book by selecting + ADD PAGE from the left-hand side
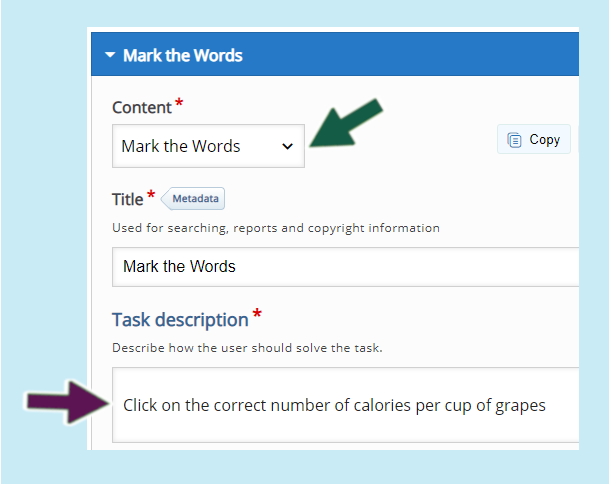
2. Enter a suitable title > then select ‘Mark the words’ from the Content drop-down list
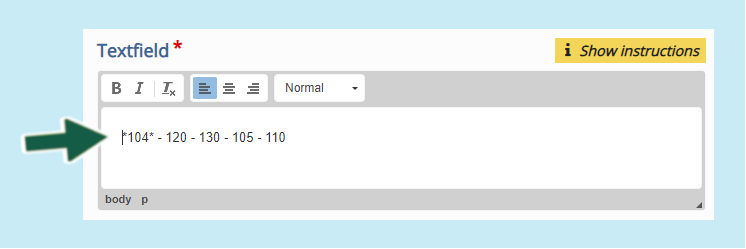
3. Enter a task description to explain what your students will need to do, for example: ‘Click on the correct number of calories per cup of grapes’
4. Next you’ll need to enter the answer range and highlight the correct answer by including a star at the beginning and end of the answer, see below:
Overall Feedback (can be assigned to each question)
The overall feedback area will enable you to add specific feedback for a score range. This will display feedback for your students. For example if the student scores between 0% – 25% they will receive the following message ‘Try and read the previous content to learn more.’
Note: At the end of the completed course or book, students will be able to submit all their answerss. (Each correct question receives 1 point and you can view reports for each student to see the percentage of correct answers)
Open up the ‘Overall Feedback’ tab then click on the ‘ADD RANGE’ button to create a new range and enter the range you want. (note: once you have completed your range, you can select ‘Distribute evenly’ if you want the scores to be automatically distributed)
Behavioural Settings
This section will enable you to determine whether you want to give your students the options to try again, or show solution. The following settings are the most commonly used:
Note: the above overall feedback and behavioural settings can be applied for each question
At the end of the questions, you should see another ‘Behavioural settings’ tab – this determines whether you want to display a table of contents, progress indicator and display summary. (note, display summary must be enabled if you want your students to be able to submit their responses)
Resources
Watch a tutorial video to learn how
Creating quizzes – True/False Question
1. Add a new page to your book by selecting + ADD PAGE from the left-hand side
2. Enter a suitable title > then select ‘True/False Question’ from the Content drop-down list
3. Simply type in your question and select whether it is a correct or incorrect answer as below

Resources
Watch a tutorial video to learn how
Publishing & Reporting
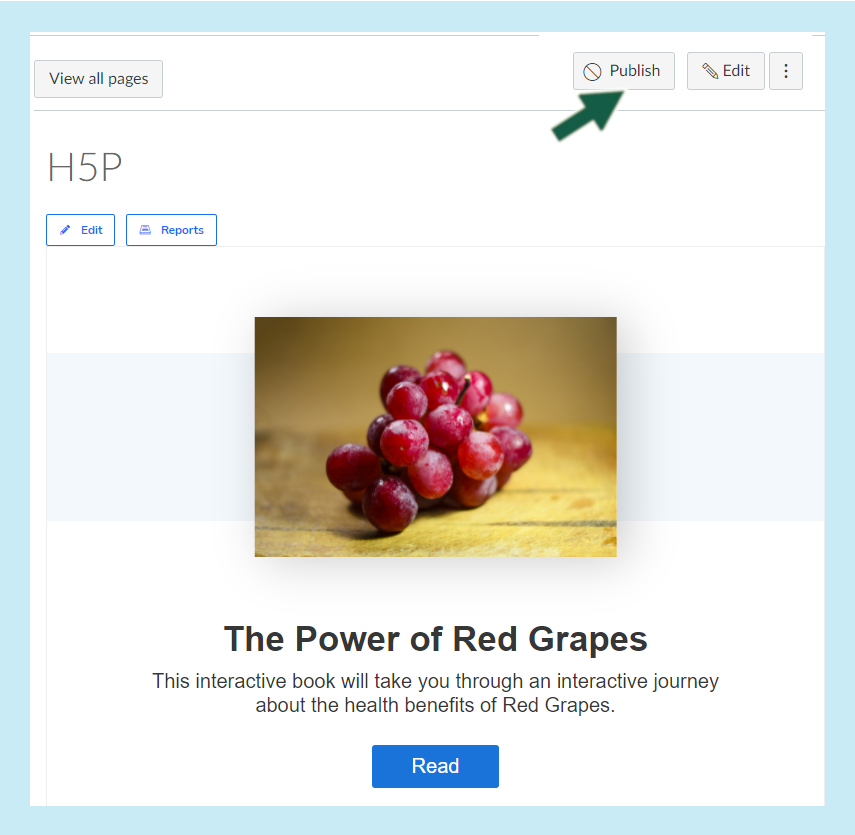
When you are ready to publish your H5P book, you’ll need to click on the publish button as below:
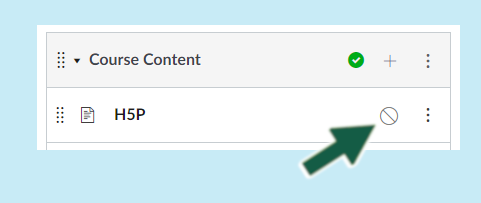
Note this is also available when viewing your course content, if you have setup your H5P into this space as below:
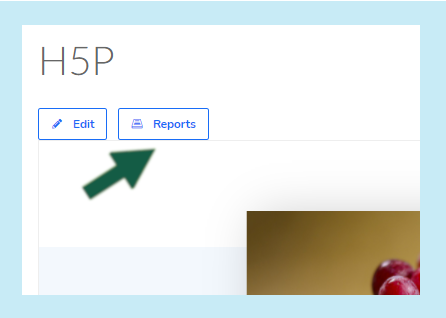
Reporting
Basic reporting is available, just click on ‘Reports’ to view the individual student responses.
If you click into the student account, you should see additional details.
Resources
Watch a tutorial video to learn how
