Jan
2019
Construction of Walls with Cement Slabs
Without the need for specialized labor, the construction of walls with cement panels is easy to carry out and reduces deadlines
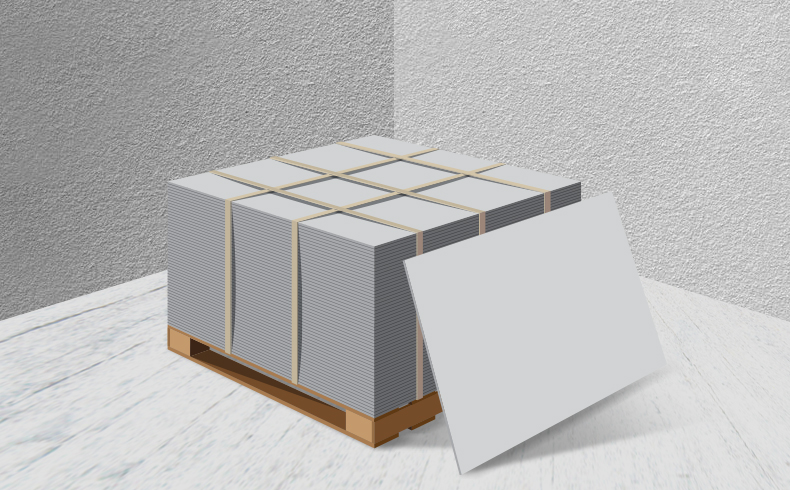
With simple installation, the cement boards provide higher speed in the construction of walls. Although it does not require specialized labor, the most critical procedure is to ensure that the spacing between parts is respected. Check out!
Step by step construction with cement slabs
– The procedure of building walls with cementitious parents begins with the placement of steel structures.
– Next, markings must be made on the structures, indicating where the cement slabs will be fixed. It is important to make sure that the parts will be at least 1 cm away from the ground.
– It is also advisable to draw on the cement plates some points that show the regions that will be drilled to receive the screws. The indication is that the attachment starts at the tips of the plates the distance is 5 cm from the side of the horizontal edge and 10 cm from the side of the vertical edge, the other anchorages follow every 30 cm throughout the end and also to the center at each upright of the structure (figure below).
– Using a screwdriver, start fixing the cementitious panel following both the indications made on the structures and those drawn on the plate itself. Screws must be attached to all stud bolts.
– With the first plate fastened to the frame, mark a distance of 3 mm between the parts and perform the fastening of the next panel following the same steps as the previous one. It is important to be careful that the bolts of the two plates are not perfectly aligned, as this creates a tension with enough force to damage the part.
– The treatment of the joints begins with the cleaning of the region, and the removal of the larger materials is done using a spatula. With the absence of imperfections, a coating is applied primer recess of the plate, located approximately 15 cm from each side.
– With the first dry, prepare the cementitious mass that will be applied to the joints. This mortar must be totally homogeneous.
– The mortar is applied in the recess region of the piece, filling an area of about 8 cm.
– After the grout has dried, glue a joint treatment tape that is 5 cm wide. This tape, which needs to be completely stretched, serves to guide the execution of the new layer of mortar. It is necessary to completely cover the tape with the mortar.
– For the third coat, repeat the second coat procedure. The only difference is that the joint treatment tape should be 10 cm instead of the previous 5 cm. In this step, after covering the entire tape, the joint should be completely level. The healing of this stage takes 24 hours.
– In hot environments, cracks are likely to appear in treated joints. In this case, we recommend a new coat with the 10 cm tape and wait another 24 hours for the new cure.
– To finish the treatment of the joints, apply the finishing mass. After one day of execution, it is possible to sand the entire surface to prepare it to receive the final finish, which can be any type of coating available in the market.
Cement sheets can be used as room partitions or wall closures, even on facades.