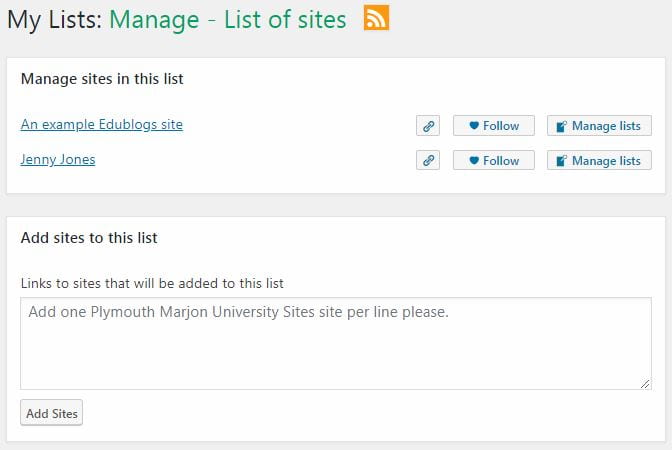
This blog post will help you to manage all your Edublog sites so that you can save time and save scrolling through lots of pages to find what you need.
Do you find it difficult to find your Edublog sites?
Are you frustrated by having to scroll through pages and pages of sites until you find the one you need?
If the answer to any of the above questions is ‘yes’, then read on to find out how you can remove old sites from the drop-down list and also create separate lists to make it a bit easier to manage your sites.
Managing the sites that appear in the drop-down ‘My Sites’ list
1. Click directly on the ‘My Sites’ button and this should take you to all the sites you have.

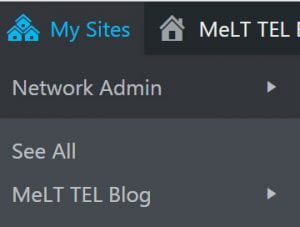
(note: ignore the drop-down menu, instead click directly on the above My Sites button)
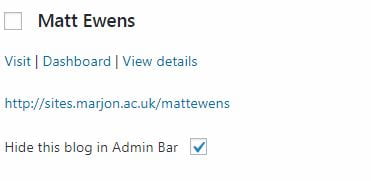
2. To remove the unwanted sites from the drop-down list, just tick the ‘Hide this blog in Admin Bar’ checkbox for each of the blog sites that you want removing from your My Sites drop-down list.
If you still have too many sites in your My Sites drop-down list after removing sites from the list, you can create separate lists to help manage your sites. To do this follow the below steps.
1. Navigate to your ‘reader’ area
2. On the bottom right-hand side of the screen you should see ‘My Lists’
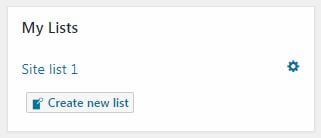
3. Click on ‘Create new list’ > add a title for the list
4. In the bottom box add the URL for any sites that you want including in the list, separated by a carriage return and click on ‘Create’
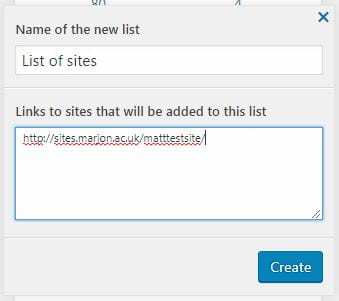
Once the list has been created, you’ll need to visit the settings to be able to see all the sites attached to it.
5. Click on the little cog icon for the list > You can then visit any site, by clicking on the title of the site.
6. To add more sites, just copy and paste the URL into the ‘Add sites to this list’ box and click on ‘Add Sites’
You may like to then create a browser bookmark for your list page, so you can quickly access it. In addition, you may like to create multiple lists for different areas.
